How to Detail a Car at Home: Step-by-Step Guide (2026)
Start with a two-bucket hand wash, then clay bar to remove bonded contamination, correct paint with polish if needed, then seal with wax or paint sealant. Interior cleaning runs parallel: vacuum first, then surfaces, then glass last.
At a Glance
| # | Product | Award | Price |
|---|
How to Detail a Car at Home Buying Guide
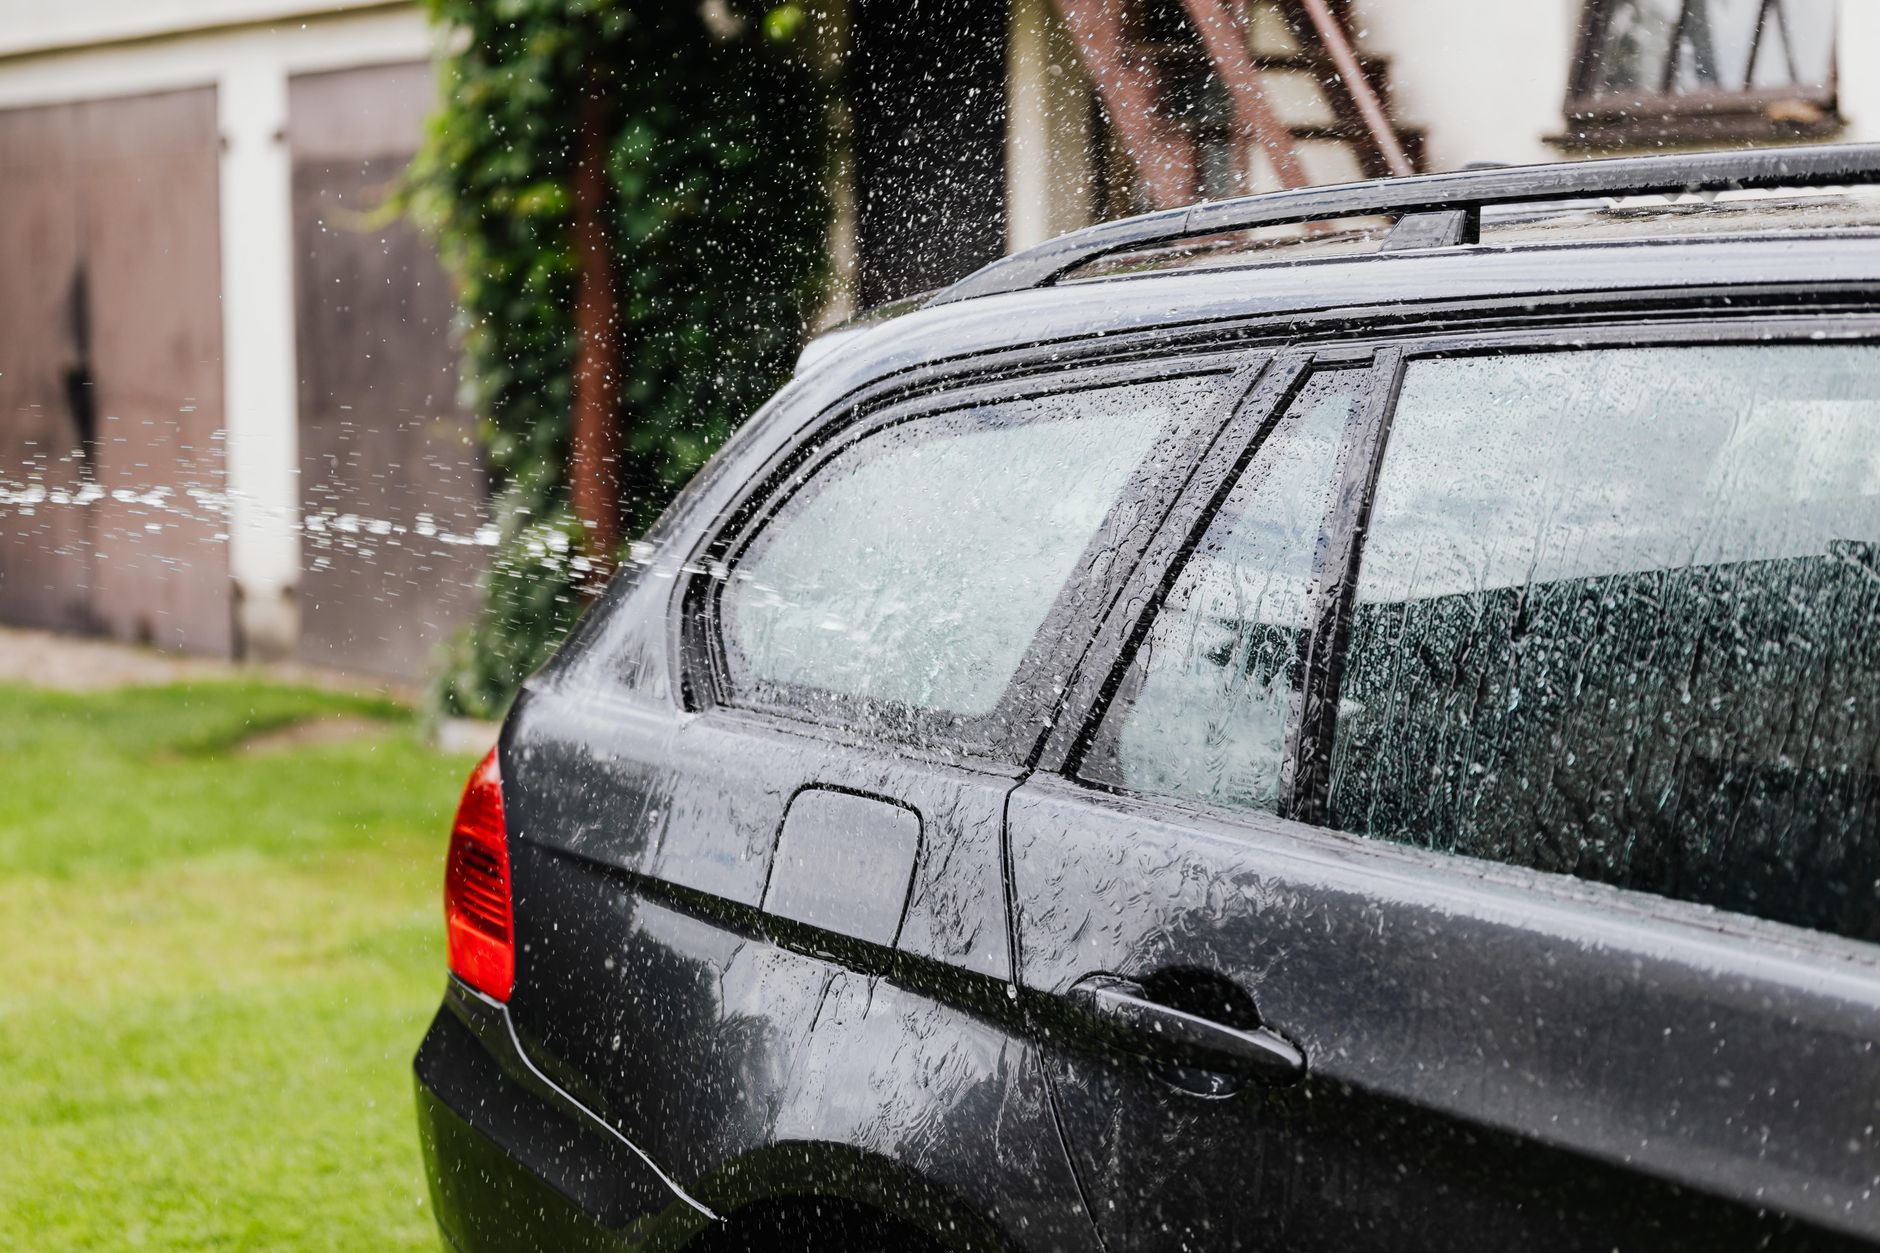 Photo by www.kaboompics.com / Pexels
How we picked these. We reviewed at-home car detailing process across wash and decontamination, paint correction (clay bar, polish), protection (wax or sealant), and interior cleaning, cross-referencing professional detailer step-by-step protocols and Drive at-home detailing guide methodology.
Car detailing at home follows a non-negotiable sequence: clean before you protect, and always work from top to bottom. Doing steps out of order — waxing before claying, for example — traps contamination under the protection layer and shortens its life. The sequence below is the same order professional detailers follow, adapted for a single-car home setup without a lift or steam cleaner.
Step 1: The Two-Bucket Wash Method
Fill one bucket with your car wash soap solution and one bucket with clean rinse water. After loading your wash mitt with soapy water and cleaning a panel, rinse the mitt in the clean bucket before loading more soap. This keeps grit from the car out of your soap bucket — the single most common cause of wash-induced swirl marks. Work roof first, then hood, trunk, upper panels, lower panels, and wheels last (wheels are the dirtiest surface and need their own separate mitt or brush).
If you have access to a pressure washer, pre-rinse and post-rinse are significantly more effective than a garden hose. A pressure rinse before washing lifts loose dirt before the mitt touches the paint, reducing scratch risk. Rinse water temperature matters less than pressure — about 1,000–1,500 PSI is sufficient for paint-safe rinsing.
Step 2: Clay Bar Treatment
After washing and drying, run the back of a clean hand across your paint. If it feels rough like fine sandpaper rather than smooth like glass, there's bonded contamination — iron fallout from brake dust, industrial pollution, tree sap residue — embedded in the clear coat that washing can't remove. A clay bar removes this mechanically.

Flatten a piece of detailing clay to a disk shape, spray the panel with clay lubricant (diluted car wash soap works in a pinch), and glide the clay in straight lines with light pressure. Fold and re-flatten the clay when the working surface turns dark. After claying, the panel should feel genuinely smooth. This step matters especially if the car hasn't been clayed in 2+ years.
Step 3: Paint Correction (Polish)
Polish is an abrasive compound that removes a microscopic layer of clear coat to eliminate or reduce swirl marks, light scratches, and oxidation. It's an optional step — skip it if the paint looks clean under direct sunlight. Use it if you see a spider-web pattern of fine scratches in strong light.
Apply a small amount of car polish with a foam applicator pad or machine polisher pad. Work one panel at a time, overlapping passes by 50%. Polish at a slow speed first (if using a machine), then increase to the working speed specified on the product. Wipe off residue with a clean microfiber towel before it hazes. Follow polish with paint protection — polished paint is completely bare and absorbs contaminants quickly without a sealant layer.
Step 4: Wax or Sealant Application
This is the protection layer. Car wax (carnauba-based) provides a warm, deep gloss and lasts 6–8 weeks. Paint sealant (synthetic polymer) bonds chemically to the clear coat and lasts 4–6 months with a more plastic-looking finish. Spray wax and spray sealant can be applied as a quick-detail product after each wash to extend protection between full applications.
Apply wax or sealant in thin coats using a foam applicator pad. Thin layers cure better and wipe off more easily than thick globs. Allow to haze (typically 5–15 minutes depending on product and temperature), then buff off with a clean, plush microfiber towel. Work in the shade — heat causes wax to dry too quickly and streak. Wheels and trim get separate products: wheel sealant for alloys, rubber/plastic protectant for trim.
Step 5: Interior Cleaning Sequence
Interior work follows the same top-down, dry-before-wet logic. Start with a car vacuum — seats, carpet, floor mats, door pockets, under the seats. Remove floor mats and vacuum them separately. A crevice tool for seat seams and seatbelt slots is essential; those areas trap an enormous amount of debris.
After vacuuming, wipe interior hard surfaces with a microfiber cloth and interior detailer spray. Dashboard and door panels first, then center console, then leather or fabric seats with their appropriate cleaners and conditioners. Glass is last — interior glass is harder to clean than exterior because of film buildup from outgassing plastics and interior cleaners. Use a dedicated glass cleaner and an S-fold technique on the microfiber cloth for a streak-free finish. A second clean microfiber pass while still wet removes streaks before they set.
How We Analyze Products
We analyze Amazon review data — often thousands of reviews per product — to surface patterns that individual buyers miss. Our process aggregates star ratings, review counts, and buyer sentiment at scale, identifying which strengths and weaknesses appear consistently across the largest review samples available.
Each product earned its placement through data: total review volume, average rating, and the specific praise and complaints that repeat most often across buyers. No manufacturer paid for placement on this page. Products appear here because buyers endorsed them at scale, not because a company asked us to feature them.
We use AI to summarize review sentiment — not to fabricate opinions, but to condense what thousands of buyers actually wrote into a readable format. The pros and cons you see reflect the most common themes found in verified purchaser reviews, paraphrased for clarity. We do not claim to have accessed Reddit, YouTube, or specific publications in generating these summaries.
Prices shown reflect Amazon pricing at the time this page was last generated. Click “See Today’s Price” to get the current live price on Amazon. Read our full methodology →