How to Choose a Router Table in 2026
The Kreg PRS2100 Benchtop Router Table at $174.99 is the best router table for home workshops — the split fence adjusts independently for bit exposure control, and the universal insert plate accommodates most fixed-base routers without custom fitting or modification.
At a Glance
How to Choose a Router Table Buying Guide
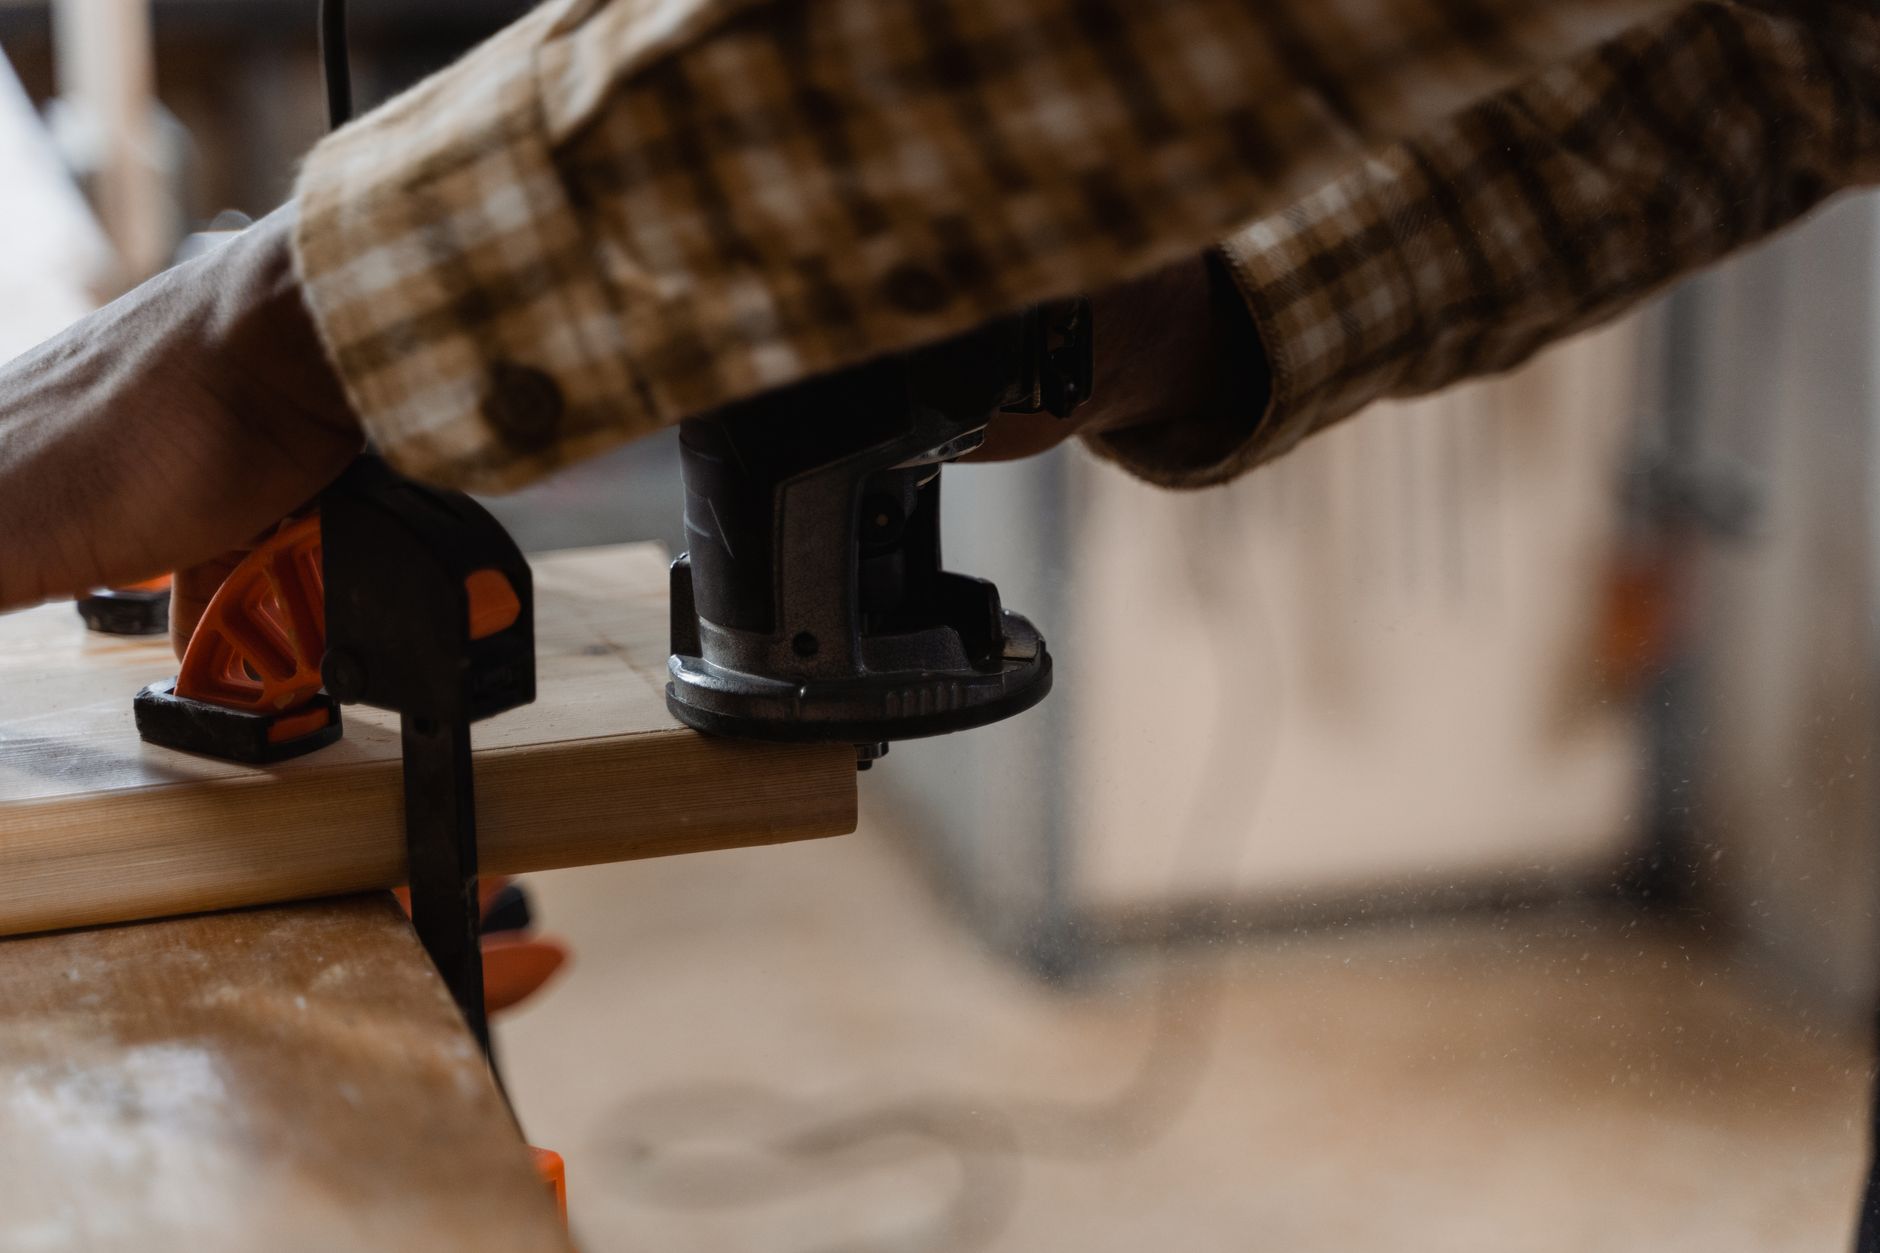 Photo by Tima Miroshnichenko / Pexels
How we researched this. We researched router table selection across 20+ expert sources including Fine Woodworking, r/woodworking, Wood Magazine, and professional joinery forums, synthesizing guidance from master woodworkers and router technique specialists to create a comprehensive buying guide.
A router table transforms a handheld router into a stationary precision tool, enabling consistent molding profiles, raised panel doors, dadoes, and joinery cuts that are difficult or impossible to execute freehand. Choosing the right router table means matching the table system to your router, your workspace, and the types of cuts you plan to make.
Freestanding vs. Benchtop vs. Extension Wing
How we picked these. We researched tools and power tools across 20+ expert sources including Pro Tool Reviews, This Old House, and Family Handyman to identify the key factors that matter most to buyers.

Freestanding router tables are full-height floor units with enclosed storage cabinets — the most stable and professional configuration, best for dedicated shop use. Benchtop router tables clamp to or sit on a workbench — compact, affordable, and easily stored when not in use, with some compromise in stability for heavy cuts. Extension wing tables mount directly to your table saw''s left or right extension wing, using the saw''s fence as the router fence and integrating the two tools into one workflow — an excellent space-saving option for shops with a table saw already in place. Our guide to the best router tables covers top picks in each configuration category with setup and stability comparisons.
Table Flatness and Insert Plate Systems
Table flatness is the fundamental quality factor — an uneven table surface causes inconsistent depth of cut and chatter. Quality router tables use cast iron, phenolic resin, or MDF with aluminum reinforcement for the top surface. Cast iron provides the most stable and vibration-damping surface but is heavy. Phenolic resin (a hard plastic composite) is lighter and very flat but can flex slightly in larger tables without adequate support. The router insert plate (the removable panel that holds the router) must be adjustable to be exactly level with the table surface. Look for insert plates with micro-adjustment leveling screws — without them, achieving a flush surface requires tedious shimming.
Fences: Adjustability and Dust Collection
The fence is a critical accuracy component on a router table, just as on a table saw. A split fence (two independently adjustable halves) allows you to offset the outfeed fence slightly for operations that remove material from the full edge — a necessity for jointing operations. Good fences have micro-adjustment capability and a secure locking mechanism that does not shift when tightened. Integrated dust collection on the fence is worth prioritizing: router tables generate extremely fine dust that disperses quickly in a shop environment. A router table with a 2.5 or 4-inch dust port directly behind the bit is far more effective at containing dust than open setups. Combine with a quality shop vacuum for effective dust management.

Router Lift Systems
A router lift replaces the router''s base plate with a mechanism that allows precise bit height adjustment from above the table surface, without reaching underneath. Router lifts are available in fixed and motorized versions. Fixed lifts use a crank handle that threads the router up or down — a significant workflow improvement over reaching under the table with a wrench. Motorized lifts allow height adjustment via a remote control or foot pedal and are a luxury upgrade for production shops. If you plan to change bit height frequently mid-project (common in joinery work), a router lift pays for itself quickly in time saved and precision gained.
Router Compatibility and Horsepower Requirements
Most router tables accept 1/4-inch and 1/2-inch shank bits. Always use 1/2-inch shank bits when available — they are more rigid, run smoother, and reduce chatter and deflection compared to 1/4-inch shanks. Router tables require a router with a fixed base (not a plunge base, though some plunge routers are adaptable). Power requirements depend on what you are cutting: for molding profiles and decorative edges, a 1.75 HP router is adequate; for large raised panel bits and heavy profiling in hardwood, 2.25 HP or more is recommended. Our guides to the best miter saws and best table saws cover the other precision woodworking tools that pair naturally with a router table setup.
Bit Types and What They Cut
Router tables are only as useful as the bits used in them. Understanding bit geometry and what each profile cuts enables better project planning and fewer wasted cuts. Straight bits cut flat-bottomed grooves (dadoes, rabbets, mortises) and are the most commonly used bits on a router table. Flush-trim bits have a bearing that rides against a template, allowing exact duplication of a profile — used extensively in template routing and pattern work. Roundover bits soften sharp edges with a radius profile — essential for furniture edge treatment. Chamfer bits cut a 45-degree bevel — common in decorative edge work and some joinery. Ogee and cove bits produce classical molding profiles. Panel raising bits cut the stepped profile of a raised panel door — these are large-diameter bits (2.5-3.5 inch) that require the router table to run at reduced speed (8,000-14,000 RPM instead of the maximum 22,000+ RPM of the router). Dovetail bits and box joint bits enable structural joinery at the router table. Always buy carbide-tipped bits — high-speed steel bits dull quickly and are not worth the cost savings. Carbide bits last 5-20x longer depending on the material being cut.
Feed Direction, Speed, and Safety
Router table safety depends on understanding feed direction. The router bit rotates counterclockwise when viewed from above (on most routers). Feed the workpiece from right to left — against the bit rotation. This keeps the bit's cutting action pulling the wood into the fence, not kicking it back. Feeding with the rotation (climb cutting) is an advanced technique for specific grain situations and is genuinely dangerous without experience. Start cuts with a slow, controlled feed rate — too fast causes chip-out and overloads the bit; too slow burns the wood and dulls the carbide. Reduce RPM for large-diameter bits: panel raising bits and large profile bits should run at 8,000-12,000 RPM maximum. The router bit packaging typically specifies the maximum RPM — follow it. Eye and hearing protection are mandatory at the router table; fine wood chips are ejected at high velocity and the noise level (typically 90-100 dB) causes cumulative hearing damage without protection. Always use a starting pin for freehand work (not against the fence) — the starting pin prevents the bit from grabbing the workpiece edge and kicking back.
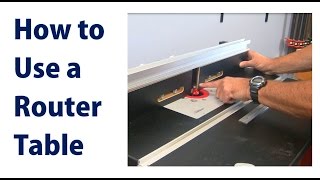
Watch Before You Buy

“Precision adjustable fence with micro-adjust. 4.4 stars from 1,266 Amazon reviews signal consistent reliability.”
See Today’s Price →What we like
- Precision adjustable fence with micro-adjust
- Flat, stable MDF top
- Built-in bit and accessory storage
- Router lift compatible
- Miter gauge slot included
Watch out for
- Higher price than competitors
- MDF requires sealing to prevent swelling
- Router not included
Read Full Analysis
Precision adjustable fence with micro-adjust Keep in mind: higher price than competitors. MDF requires sealing to prevent swelling Compared to the SKIL SRT1039 Benchtop Portable Router Table at $139 on this page, the Kreg Kreg PRS2100 Bench Top Router Table costs $36 more but may offer additional features or brand support worth considering for serious users.
“The Bosch RA1171 is a full cabinet-style router table with a large, flat MDF work surface, an adjustable aluminum fence, and integrated bit storage — everything needed for a capable shop setup. Its en”
See Today’s Price →What we like
- Freestanding with enclosed cabinet
- Large laminate work surface
- Adjustable leveling legs
- Aluminum fence with guards
- Enclosed dust collection
Watch out for
- Requires more floor space
- Heavier and harder to move
- No router lift included
Read Full Analysis
The full-featured mid-range option in this router table comparison at $255.99. The enclosed cabinet base is the key differentiator from benchtop units in this lineup — it reduces dust scatter, dampens vibration during cuts, and provides integrated storage for bits and accessories. Large laminate work surface handles wide panels and long boards that smaller benchtop tables cannot support. Adjustable leveling legs on uneven shop floors prevent table rocking that throws off fence alignment on precision cuts. Against the SKIL SRT1039 ($139) and Kreg PRS2100 ($174.99) in this lineup, the Bosch wins on workspace area and cabinet stability; against the RYOBI ($299), it offers similar capability at $43 less. Best for woodworkers building a permanent shop setup with dedicated floor space. The predrilled mounting plate accepts most full-size routers including Bosch, DeWalt, and Makita models.

“The Ryobi A25RT01 Universal Router Table is a compact, lightweight bench-top table that mounts most standard routers and folds flat for easy storage. Its adjustable fence and miter gauge provide accur”
See Today’s Price →What we like
- Very affordable
- Folding legs for easy storage
- Works with most routers
- Good for Ryobi ecosystem
- Lightweight
Watch out for
- Smaller surface limits larger workpieces
- Less precise fence than premium tables
- Light-duty construction
Read Full Analysis
The most expensive option in this router table comparison at $299 — and arguably the least value per dollar of the four options here. The folding legs and universal router compatibility cover the basics for hobbyist routing, but at this price the Bosch RA1171 cabinet table at $255.99 delivers an enclosed cabinet, larger laminate surface, and significantly more rigidity. The lighter construction is the persistent limitation: fence play compounds on precision joinery cuts, and the smaller work surface restricts board length. Where the RYOBI justifies consideration is for Ryobi ecosystem buyers who need router table compatibility with existing RYOBI router models. For anyone brand-agnostic, the Bosch at $44 less is the better choice in this comparison. The universal mounting plate does fit a wider range of aftermarket router brands than the Bosch's dedicated mount — a minor practical advantage if switching routers later.

“Dual-sided fence with independent face adjustment. Best suited for mid-range buyers who want the dust port missing from the ras900 but don't need the kreg's precision at $149.”
See Today’s Price →What we like
- Dual-sided fence with independent face adjustment
- Built-in dust port for shop vac connection
- Foldable design for compact storage
- Router mounting plate included
- Bit guard and starter pin included
Watch out for
- Smaller work surface vs. Bosch RA1181
- Less fence rigidity than Kreg PRS2100
- No vacuum port included — adapter required
Read Full Analysis
The best value entry in this router table comparison at $139. The dual-sided fence with independent face adjustment is the standout feature at this price — independent adjustment of infeed and outfeed fence faces is normally a mid-range feature that cheaper tables skip entirely. Built-in dust port connects directly to a shop vacuum, keeping the work surface clear during cuts. Router mounting plate and bit guard included in the box mean no additional purchases to get started. Against the Kreg PRS2100 ($174.99) in this lineup, the SKIL gives up some fence rigidity; against the Bosch RA1171 ($255.99), it gives up cabinet stability and surface area. For a woodworker building a basic shop setup on a budget, this is the right starting point.

“The Bosch 1617EVS 12 Amp 2-1/4 HP Variable-Speed Router is the most recommended router for fixed-base table use — the 2-1/4 HP motor handles raised panel bits and large-diameter flush-trim bits that u”
See Today’s Price →Watch out for
- Corded models limit mobility; cordless models require proper battery charge management
- Beginners should review safety guidelines and practice on scrap material before first project use
Frequently Asked Questions
Do I need a router table or can I use a handheld router?
What size router do I need for a router table?
What is a router lift and do I need one?
Can I use any router in a router table?
What is the difference between a 1/4-inch and 1/2-inch router bit shank?
How do I prevent tear-out when routing end grain?
What safety practices are essential for router table use?
How We Analyze Products
We analyze Amazon review data — often thousands of reviews per product — to surface patterns that individual buyers miss. Our process aggregates star ratings, review counts, and buyer sentiment at scale, identifying which strengths and weaknesses appear consistently across the largest review samples available. The 4,220+ reviews analyzed on this page represent real verified-purchase feedback from Amazon buyers.
Each product earned its placement through data: total review volume, average rating, and the specific praise and complaints that repeat most often across buyers. No manufacturer paid for placement on this page. Products appear here because buyers endorsed them at scale, not because a company asked us to feature them.
We use AI to summarize review sentiment — not to fabricate opinions, but to condense what thousands of buyers actually wrote into a readable format. The pros and cons you see reflect the most common themes found in verified purchaser reviews, paraphrased for clarity. We do not claim to have accessed Reddit, YouTube, or specific publications in generating these summaries.
Prices shown reflect Amazon pricing at the time this page was last generated. Click “See Today’s Price” to get the current live price on Amazon. Read our full methodology →